Learning About Reflections – Paintless Dent Repair/Removal PDR
This article was written by Vince from Dents No More in Orange County, California. He’s a PDR tech who has been performing professional PDR since 1994. A “fog” reflection specialist who explains the use of his reflection.
Written By Vince from DentsNoMore.com
FOG 101
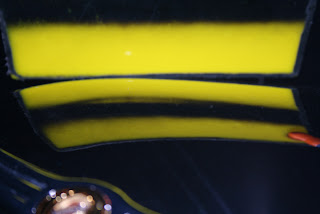
When using a fog board to repair a dent, using the paintless dent removal technique, board placement and lighting are critical. The whole purpose of using a fog board (reflection board) is to see the damage better. The board itself is usually yellow or white. The line is painted on with a flat black can of spray paint. One single line down the middle with the over spray acting as the fog. The over spray is crucial mainly because that is the fog! Not too much and not too little. The purpose of the fog is to see depth of the dent and to highlight the natural orange peel of the panel. It also helps you see the tip of your tool better, which allows better-controlled pushes. When outside, most people that use fog boards will try to have the sun behind them to light up the fog board. When inside lighted fog boards come in handy.
With a single line reflection board there are two pictures you can see inside the dent. Think: Negative and positive.
What happens is if you use the side closest to the skin of the car the dent is shaded down the middle on one side of the dent. If you shift your head and look at the reflection of the dent on the topside of the board the opposite side of the dent will be shaded. The whole purpose of this is to find the middle of the dent. Where the black and yellow meet is where the center of the dent is. Now you can start pushing. For years many skilled body men use to start on the outside of the dent and shrink the metal in towards the middle. This is not true with PDR. With our theory, by making precise pushes in the center circling out, the metal regains its strength. Layer by layer, push by push. In a crease type dent a zipper technique is used. Starting at one end and zig zagging through the dent. Once again, layer by layer. It is crucial to remember each push made effects the previous and the next push. As the dent is being removed layer by layer, the board must be moved farther and farther away. When starting out the board will be about one foot away from the dent. When finishing the dent, the board can be as much at four feet away from the dent.


